Quick Start Guide - Xyicon Add-in for Revit
- Contributors


- PDF
Quick Start Guide - Xyicon Add-in for Revit
- Contributors
- PDF
Article summary
Did you find this summary helpful?
Thank you for your feedback!
Xyicon Users
Use this article to learn how to quickly get started with leveraging the power of Xyicon's Revit add-in for your BIM workflow.
Before you begin
Make sure that your system meets the following requirements:
- Operating System: Microsoft Windows
- Revit Version: Revit 2021 or above (for more information, see Revit system requirements)
- Access to Autodesk Developer Network. You need your credentials to log in to Revit.
- A working version of Xyicon's Revit Add-in installed
- Xyicon Revit Add-In Executable: You will need the Xyicon Revit Add-In executable file for the installation. To obtain this file, reach out to Xyicon support via support@xyicon.com. For a detailed guide on how to install the Xyicon Revit Add-in click here.
- During installation, if you have not installed PDF995 drivers previously, now is the time to do so by selecting the component. This helps you to create PDF documents easily and is not an optional step if not previously installed.
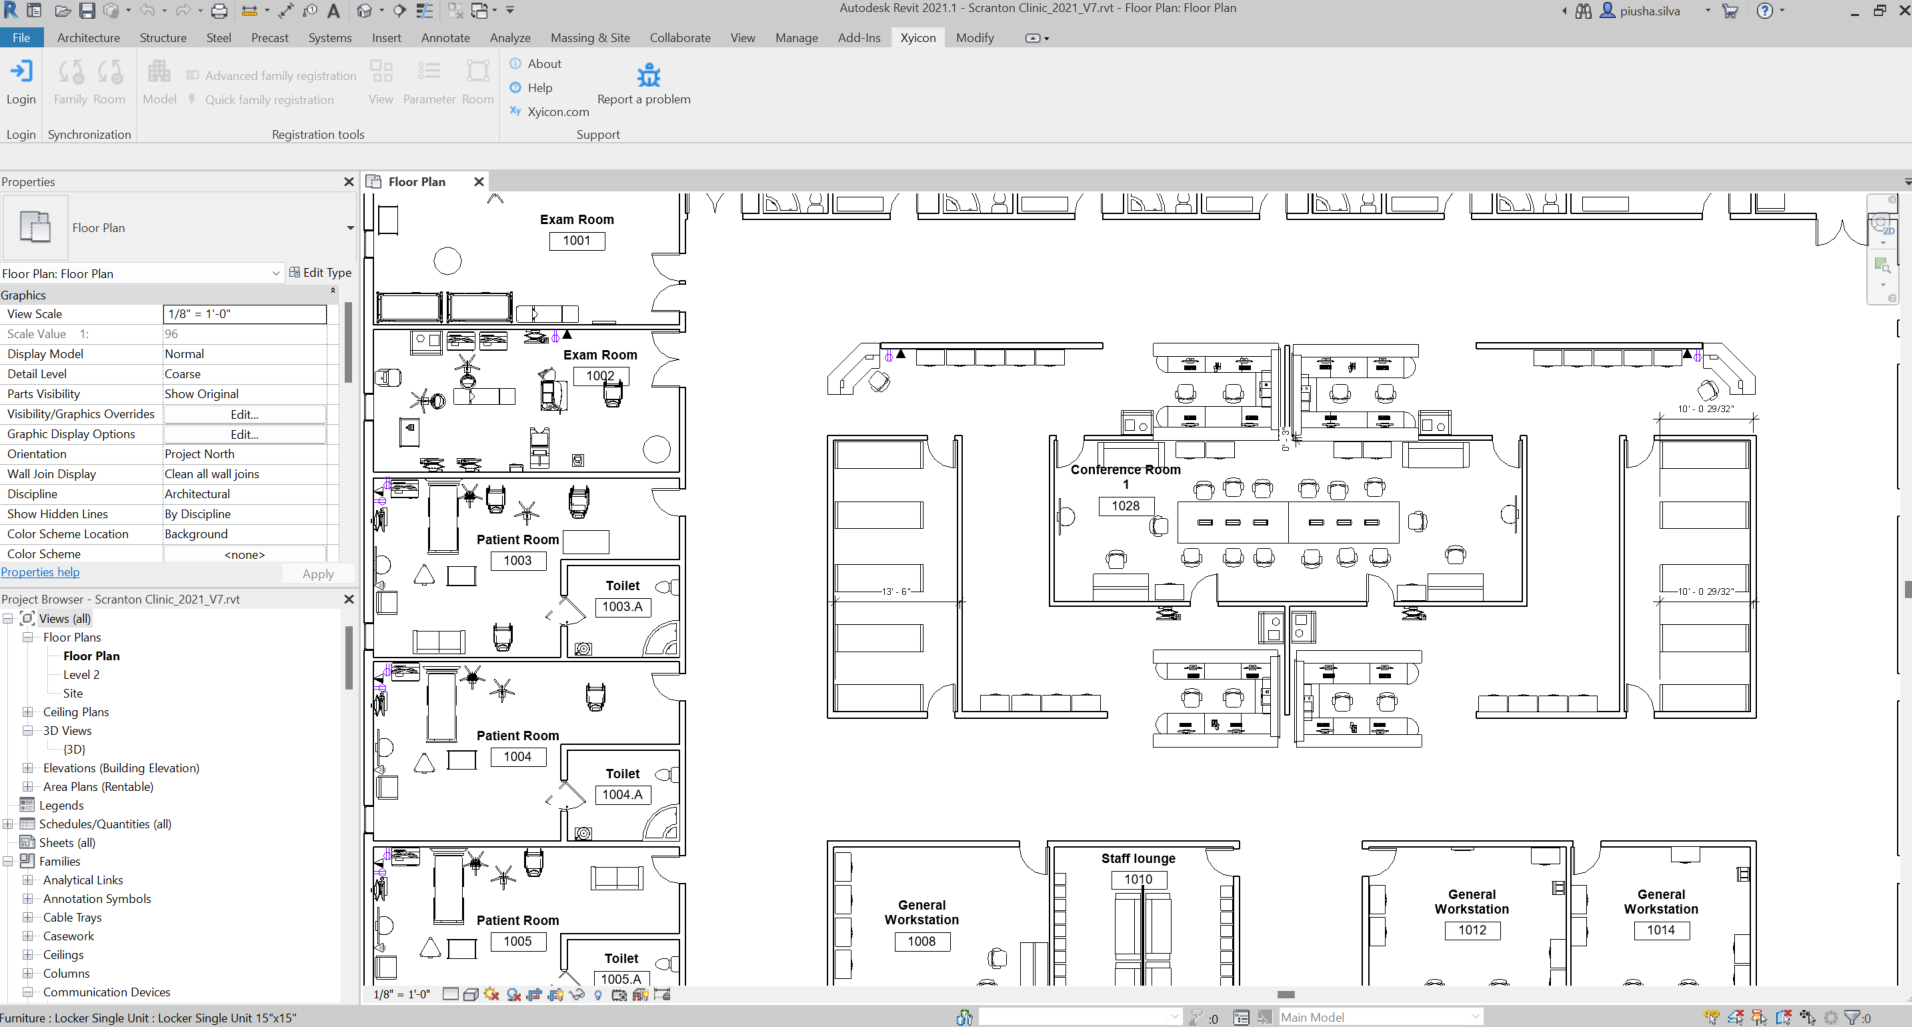
- Make sure you have a working Revit model like the following.
TIP: It is recommended that you have a working knowledge of the Revit module hierarchy to easily understand how the integration occurs. To learn more about Revit, click here.
What you'll set up
As you go through the following article it is important that you as the user have an idea of how different objects in Revit translate to those on Xyicon's end. The following is a visual representation of how they are set up:

NOTE: Make sure that you have connected to the same organizations while logging in on both platforms before commencing.
Step 1 - Accessing the Revit Add-in and Xyicon
Before you begin, you need to log in to the Revit application as well as the Add-in. Additionally, you may also wish to log into Xyicon to see how changes are being pushed across. Follow the steps below to log into each platform.
Logging into Revit
- Once the Revit application is installed open up the application. Upon doing so you will be requested to enter your Autodesk Developer Network (ADN) credentials (if you do not already have an ADN subscription to Revit, contact your company administrator for support).
- Enter your valid credentials and you should be able to successfully open Revit and your Revit project.
Logging into the Xyicon Revit Add-in
- Once you have opened your Revit project navigate to the Xyicon tab from the ribbon bar at the top and select Login.
- Enter your credentials you used to log in to the Xyicon platform in the dialog window that opens up.
- Once you successfully log in to the Add-in, select the same organization that you selected on Xyicon to seamlessly collaborate between the platforms.

TIP: You can only log in to the Revit add-in if you have been added as an Admin user in Xyicon for the same organization.
Logging into Xyicon
- Open up a web browser and visit the URL: https://app.xyicon.com/
- Enter your valid credentials and log in to the platform.
- From the side panel make sure to select the correct organization that you wish to work with.
Step 2 - Registering your Revit model
After successfully logging in with your Xyicon user credentials and selecting the organization you will be working with, the initial step to discovering the Revit Add-in is to register your Revit model as a portfolio in Xyicon.
- From the ribbon bar under the Xyicon tab in Revit, select Model, which is available under registration tools.
- In the dialog window that opens, users will be able to view the name of their primary model in Revit as well as view and edit the name they wish to register their portfolio as in Xyicon. Additionally, if there are any linked models, these too will be available for viewing purposes.
- Select Register to confirm and register your primary model as a portfolio in Xyicon. This will create a new portfolio in Xyicon using the name provided as seen below.

After successful registration, you can see your newly registered model as a portfolio under the Portfolio module in Xyicon.

Model registration is a crucial first step in setting up your organization to collaborate with Xyicon.
Additionally. users can either choose to register their Revit models as a new portfolio in the Xyicon application or register into an existing Xyicon portfolio as well.
Step 3 - Registering your Revit family types
Registering your Revit families as catalog items in Xyicon is a crucial step in leveraging the powerful and easy-to-use modeling capabilities within Xyicon. Xyicon's Revit Add-in allows users two ways in which they can quickly start registering their family types, i.e., Quick Family Registration and Advanced Family Registration. In this guide, we will follow the Quick Family Registration method, but users can also use the Advanced Family Registration for a more controlled setup.
Quick Family Registration
- Select one or more family-type instances from the active view in Revit.
- Select Quick family registration under Registration tools under the Xyicon tab to instantly register the family types for the selected instances as catalog items in Xyicon.

After successful registration, you can see your newly registered family types as catalog items Catalog module in Xyicon.

Step 4 - Registering your Revit views and rooms
View Registration
Registering your Revit views as Spaces in Xyicon allows users to collaborate with multiple stakeholders easily with Xyicon's extended capabilities.
- From the ribbon bar under the Xyicon tab, select View, which is available under registration tools.
- In the dialog window that opens, users will be able to see the different views in the Revit model that are available for registration. The Status column by default displays the current state of the View as to whether it is already registered or deregistered.
- Select one or more records from this window and then select Register from the action bar that pops out from the bottom to register your views as Spaces in the Xyicon application. This may take a few minutes to complete.

After successfully registering your records, you can see your newly registered views as spaces under the Spaces module in Xyicon. Make sure to refresh the page to see your latest registered spaces.

Additionally, in the scenario that the Revit floor plan view is adjusted after registering the initial view, user can utilize the Replace button to easily update their Spaces with the updated floor plan details on Xyicon. Simply select the record(s) from the View registration dialog window that needs to be replaced and select Replace.
Rooms Registration
Users can easily register rooms in their Revit models as Boundaries in Xyicon to designate and separate different areas and regions in a floor plan.
- From the ribbon bar under the Xyicon tab, select Room, which is available under registration tools. In the dialog window that opens, users will be able to see if rooms exist in the selected model for synchronization.
- Select Register to confirm and register your rooms as boundaries in Xyicon.

After successful registration, you can see your newly registered rooms as Boundaries under the Boundaries module and Space editor.

What's Next?
Now that you have successfully initialized the application as required, you can collaborate across teams and make various changes to your model information as needed. Up next you can take a look at how users can:
Was this article helpful?