Use this article to learn how to invite a user to a Xyicon organization.
Before you begin
Ensure you are a Xyicon Administrator. Only Xyicon Administrators can invite users to a Xyicon Organization.
Inviting a User to a Xyicon Organization
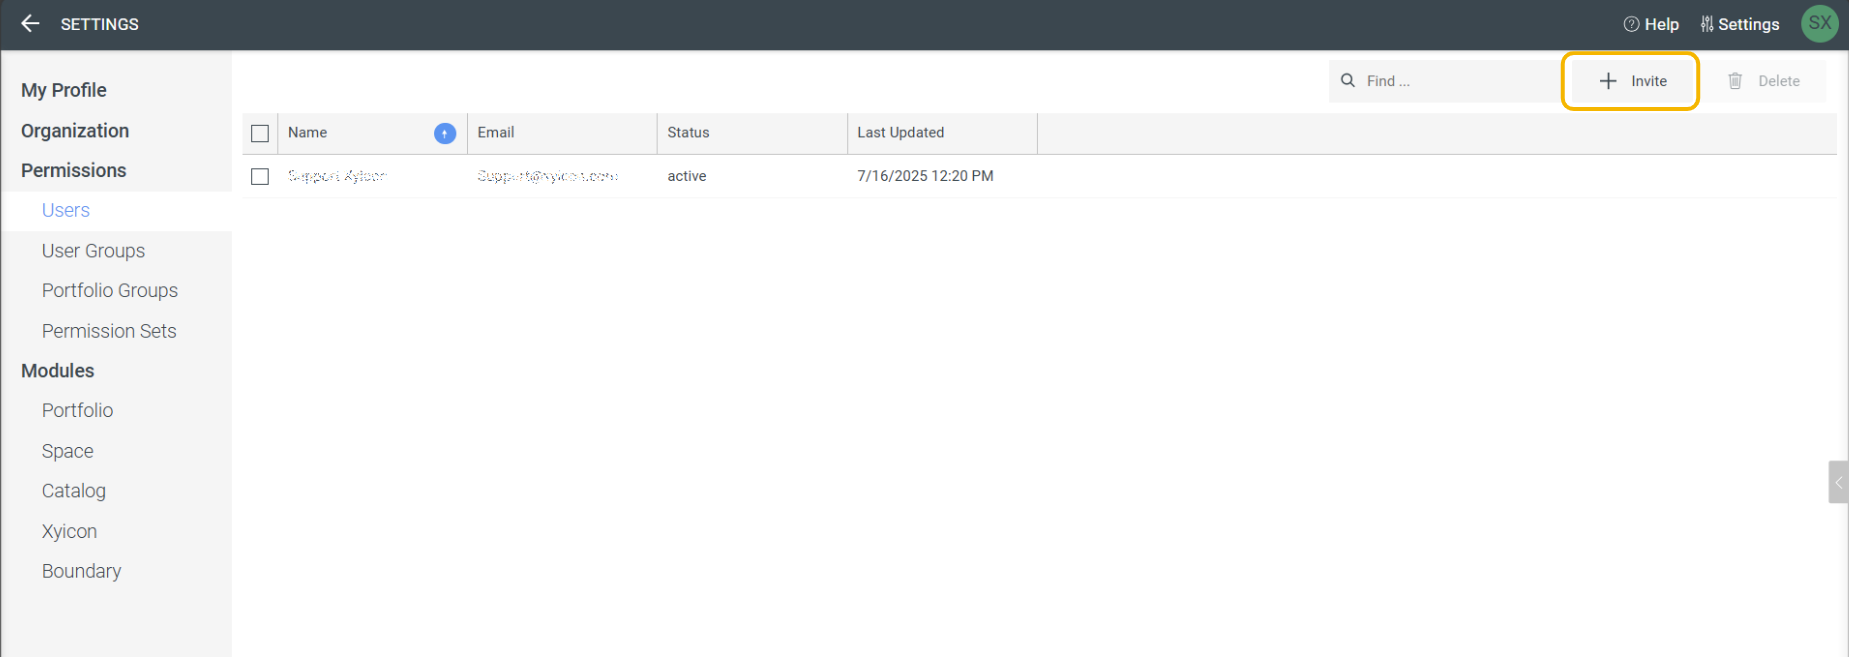
On the header, click Settings.
Click Users under Permissions from the side panel.
Click the Invite button on the action bar.
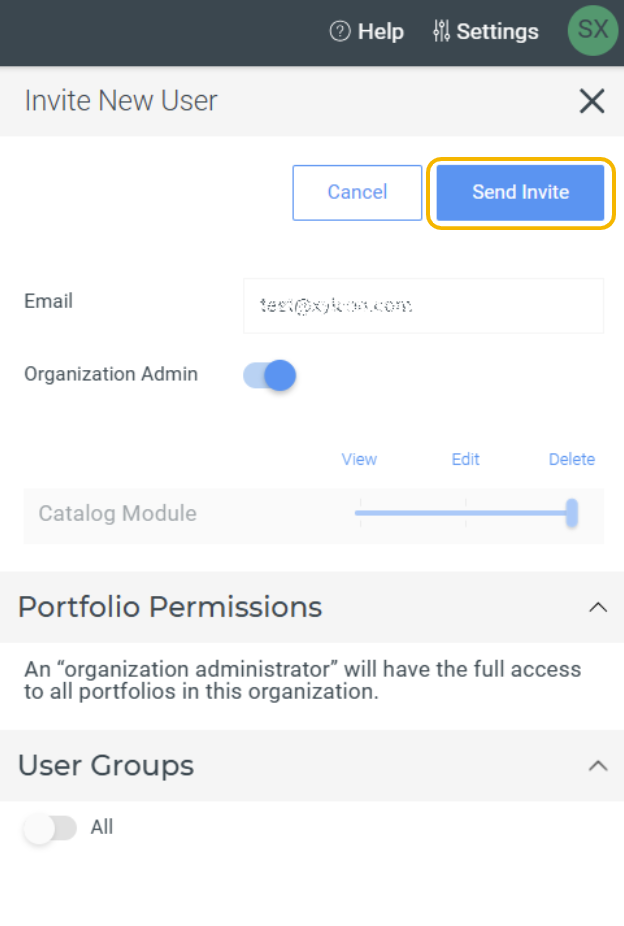
Enter the email address of the user in the Email section on the Details Tab.
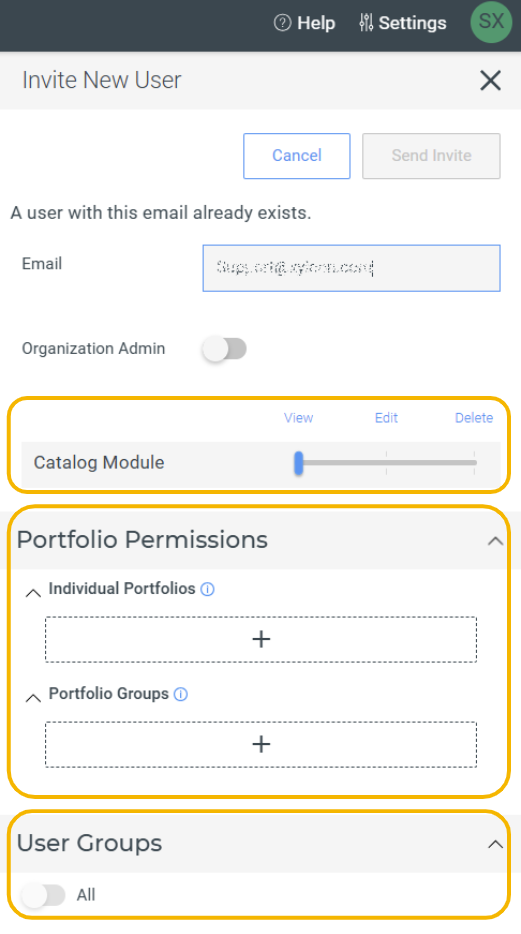
NOTE: If you enter an email that already exists, a message will appear indicating that a user with this email already exists.
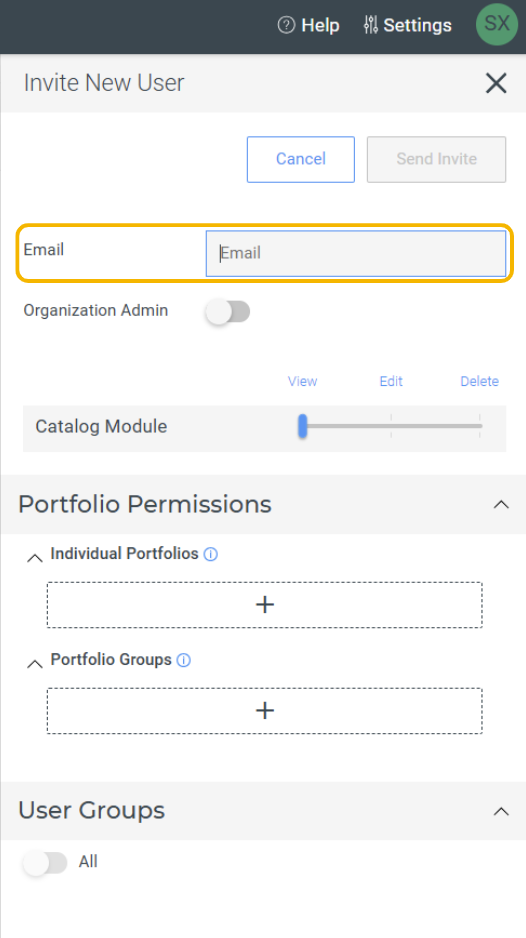
If the new user should be created as an Xyicon Administrator, click the Organization Administrator toggle.
.png)
Additionally, you can assign the relevant Catalog permission level and Portfolio Permissions for the user from the Details Tab. Also, you can assign the user to relevant User Groups.
Click Send Invite to invite the user to your Xyicon Organization.
Inviting a User to a SSO-Enabled Xyicon Organization
On the header, click Settings.
Click Users under Permissions from the side panel.
Click the Invite button on the action bar.
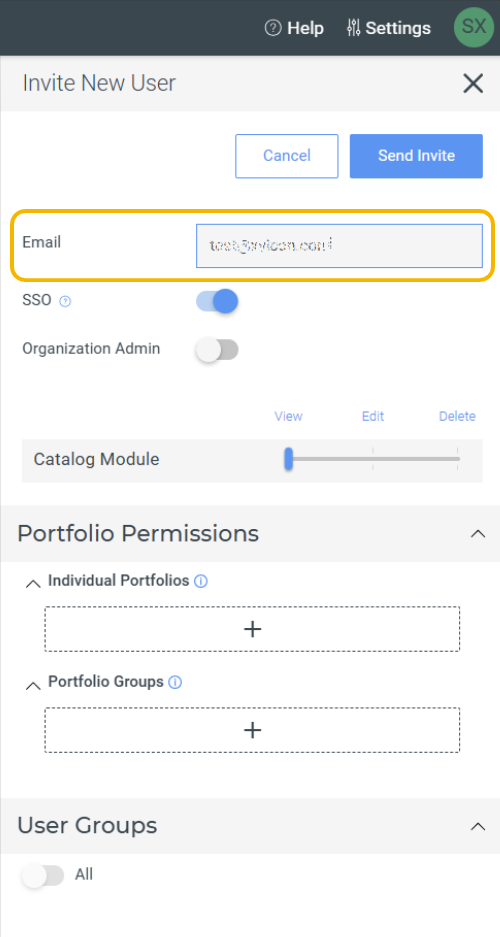
Enter the email address of the user in the Email section on the Details Tab.
NOTE: If you enter an email that already exists, a message will appear indicating that a user with this email already exists.
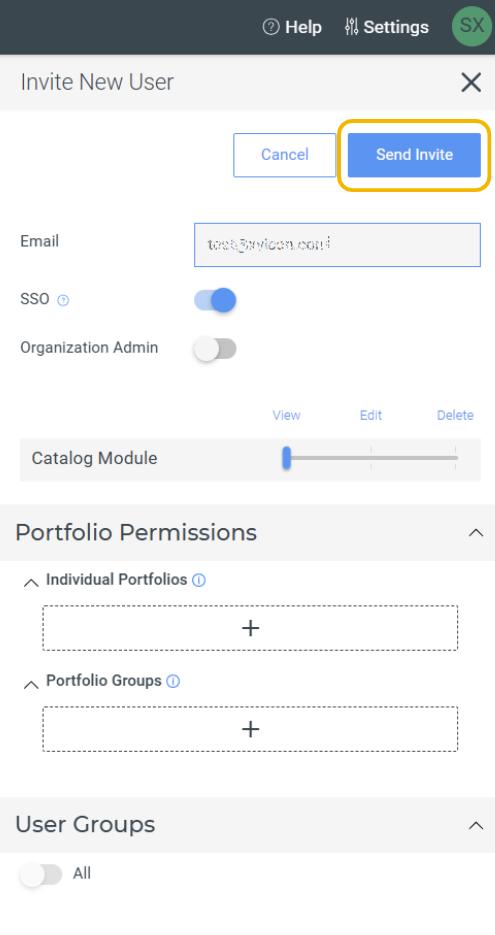
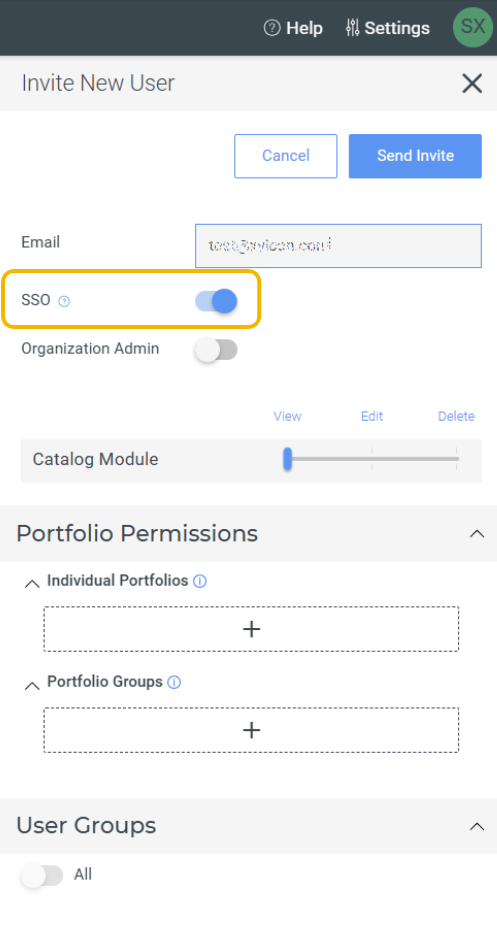
If you want to enable SSO login for the user, click the SSO toggle.
NOTE: Once you enable the toggle, user must login with SSO to log in to Xyicon.
If the new user should be created as an Xyicon Administrator, click the Organization Administrator toggle.

Additionally, you can assign the relevant Catalog permission level and Portfolio Permissions for the user from the Details Tab. Also, you can assign the user to relevant User Groups.
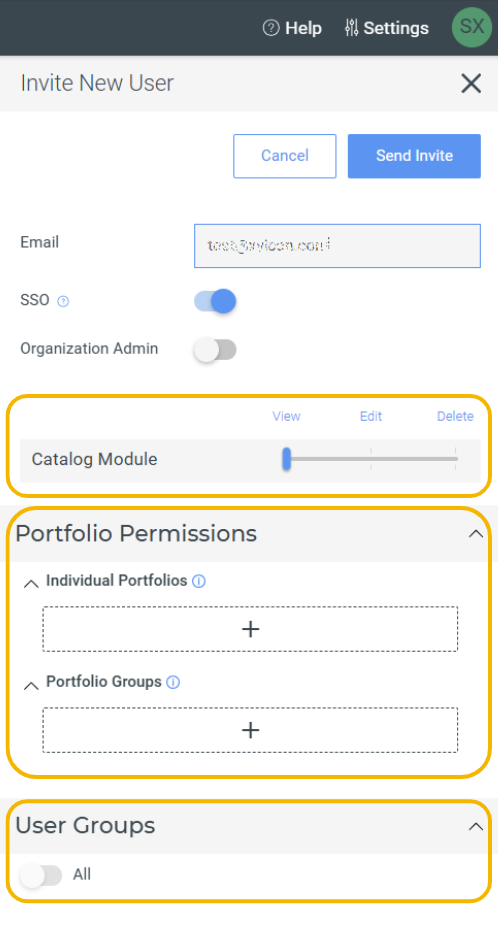
Click Send Invite to invite the user to your Xyicon Organization.