Xyicon Users
Use this article to learn how to change your view's Table layout ( ). You can see your view in the table layout in the PORTFOLIOS, SPACES, CATALOG, XYICONS, and BOUNDARIES module window and in the Xyicons tab ( ) and Boundaries tab ( ) in the Space Editor.
Before you begin
For shared views, make sure that your Xyicon User has the necessary permissions to update the view. Permissions for shared views are set by the view's owner.
If you do not have permission to edit the active view, you can save the changes as a new view.
Add Columns
- Open the view to which you want to add columns:
- To add columns to a Module view, go to the desired module on the Main Menu ( ). If you are in the Spaces Module, make sure you are in the Table layout ( ).
- To add columns to a Space Editor view, go to the Space Editor's Xyicons tab ( ) or Boundaries tab ( ).
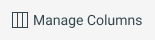
- Click the Manage Columns button ( ) on the Action Bar. Alternatively, hover over a column, click the dropdown arrow, and click Manage Columns.
- On the Manage Columns pane, select the desired columns from the Hidden Columns section and drag and drop them to the Visible Columns section or click on the right arrow to add the column/s.
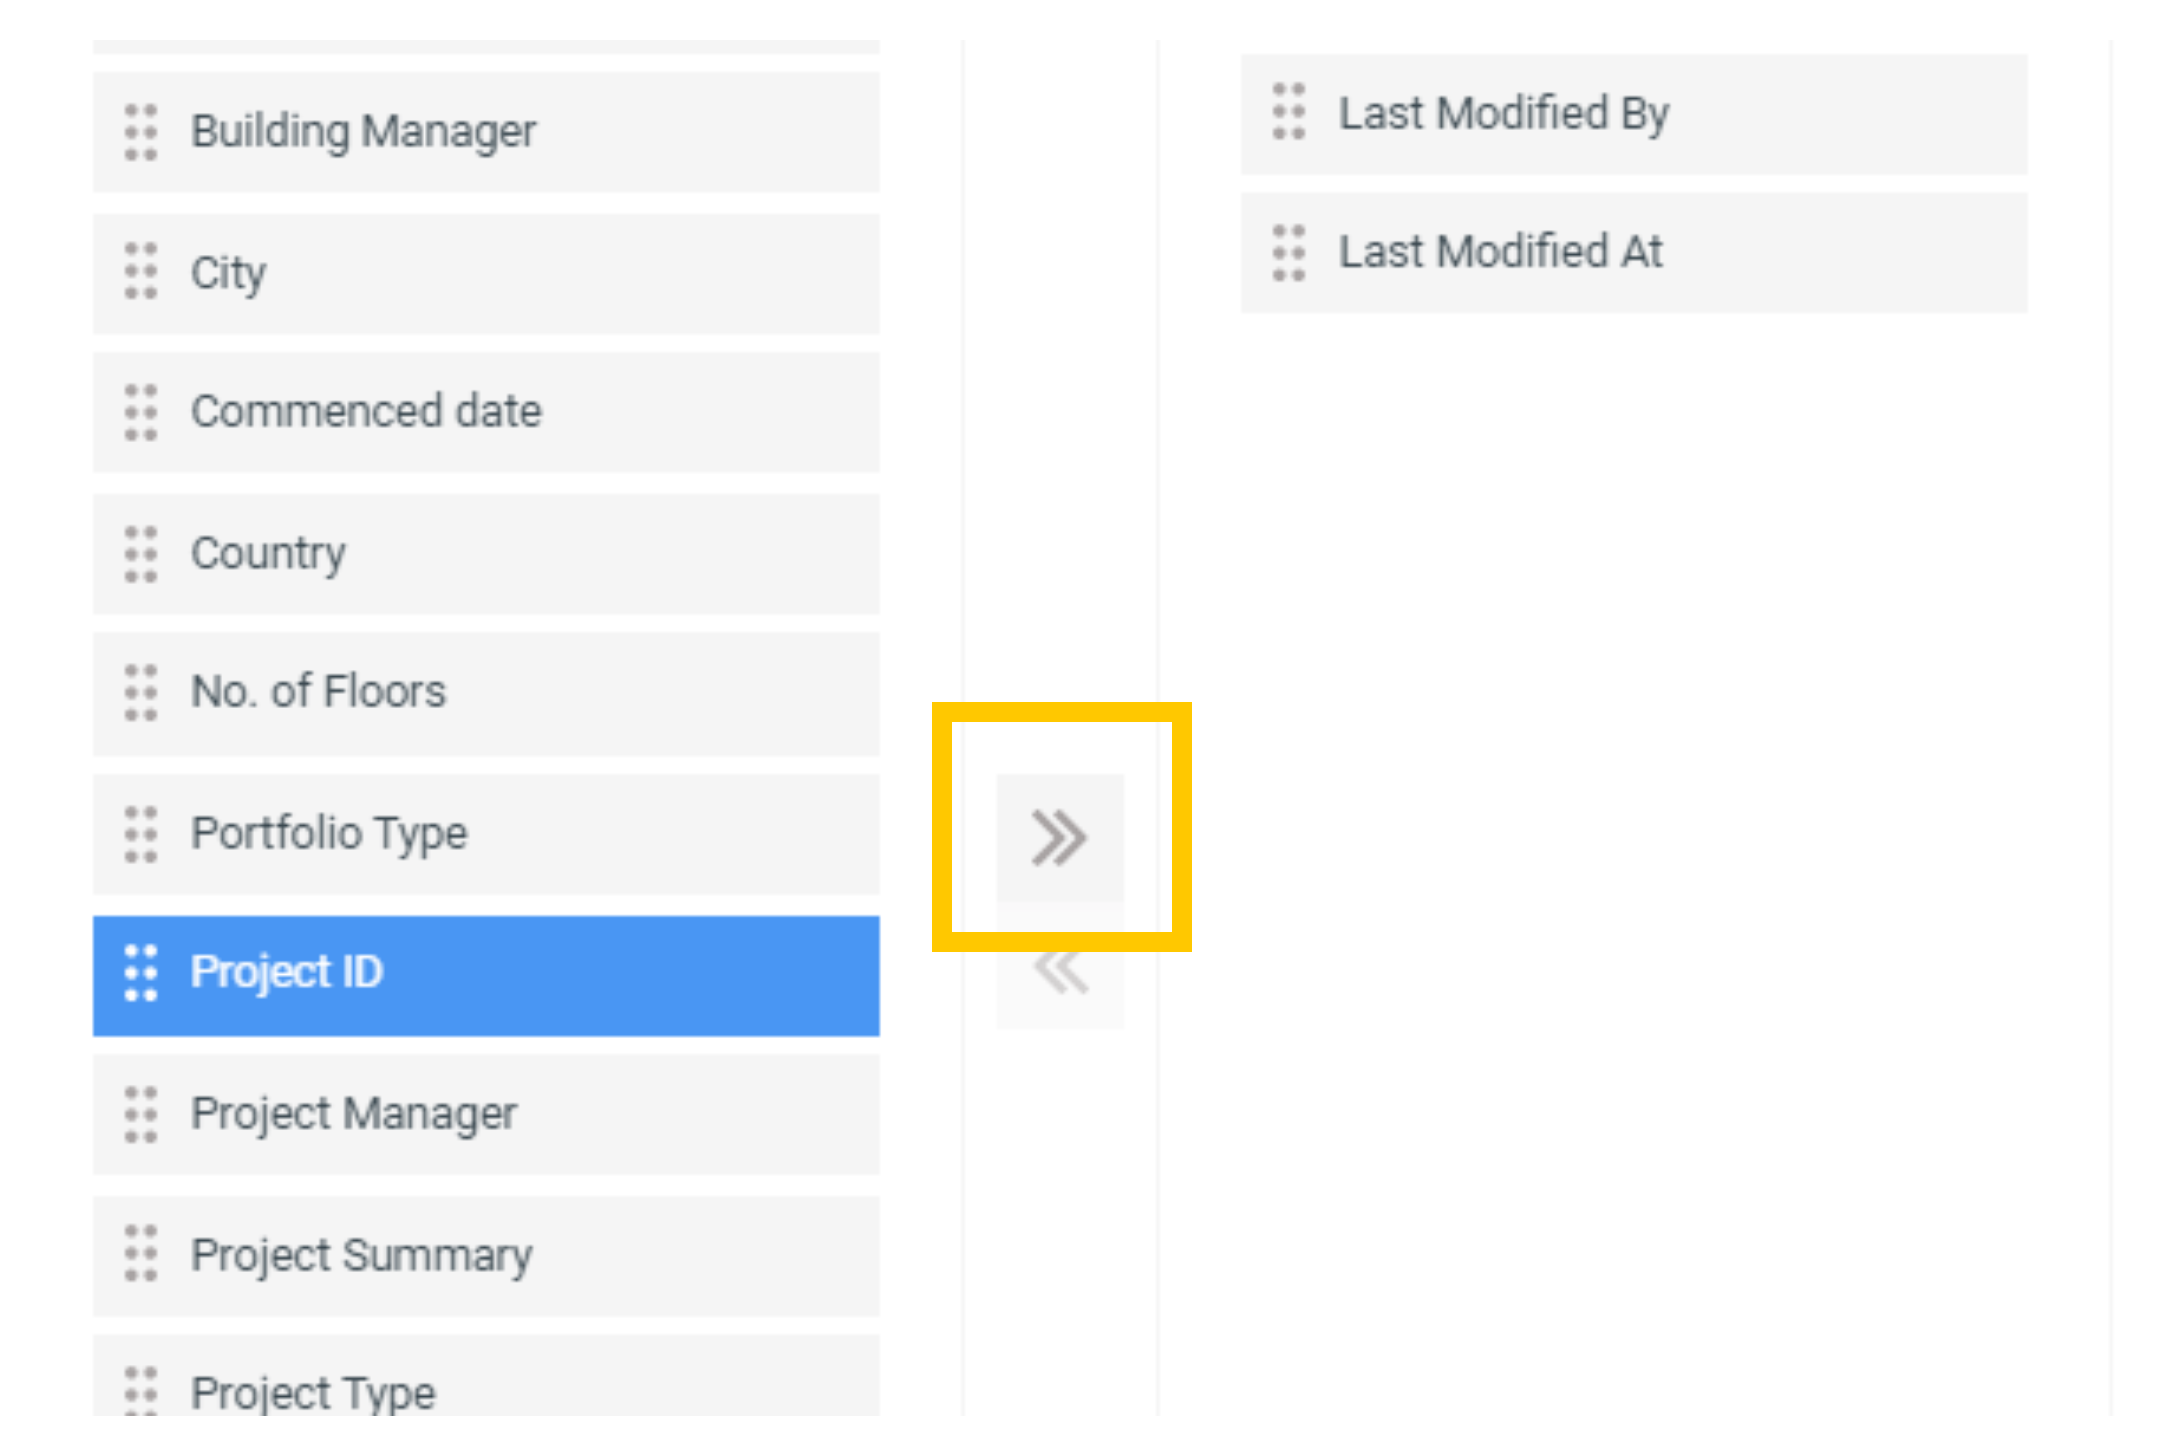 TIP: To select multiple columns, hold down the CTRL key while selecting.
 - Click Save to View to save the changes to the active view. Alternatively, click Save as New View to save the changes as a new view.
Change the Column Order
You can change the column order of a view in two ways.
METHOD 1 - Use the Manage Columns pane
- Click the Manage Columns button ( ) on the Action Bar.
- Select a column or multiple columns from the Visible Columns section.
- Drag and drop the columns at the desired location on the list or use one of the Reorder buttons located to the right ().
- Click Save to View to save the changes to the active view. Alternatively, click Save as New View to save the changes as a new view.
METHOD 2 - Move columns on the view's table layout
- Move pointer to a column header from the Table layout ( ).
- While holding down the mouse button, drag the column to the desired location on the layout. Repeat as needed.
- Click Save to View to save the changes to the active view. Alternatively, click Save as New View to save the changes as a new view.
Hide Columns
- To hide a single column, hover over a column you want to hide, click the dropdown arrow, and click Hide Column. Repeat as needed.
- To hide multiple columns at once, click the Manage Columns button ( ) on the Action Bar.
- On the Manage Columns pane, select the desired columns from the Visible Columns section and drag and drop them to the Hidden Columns section or click on the left arrow.
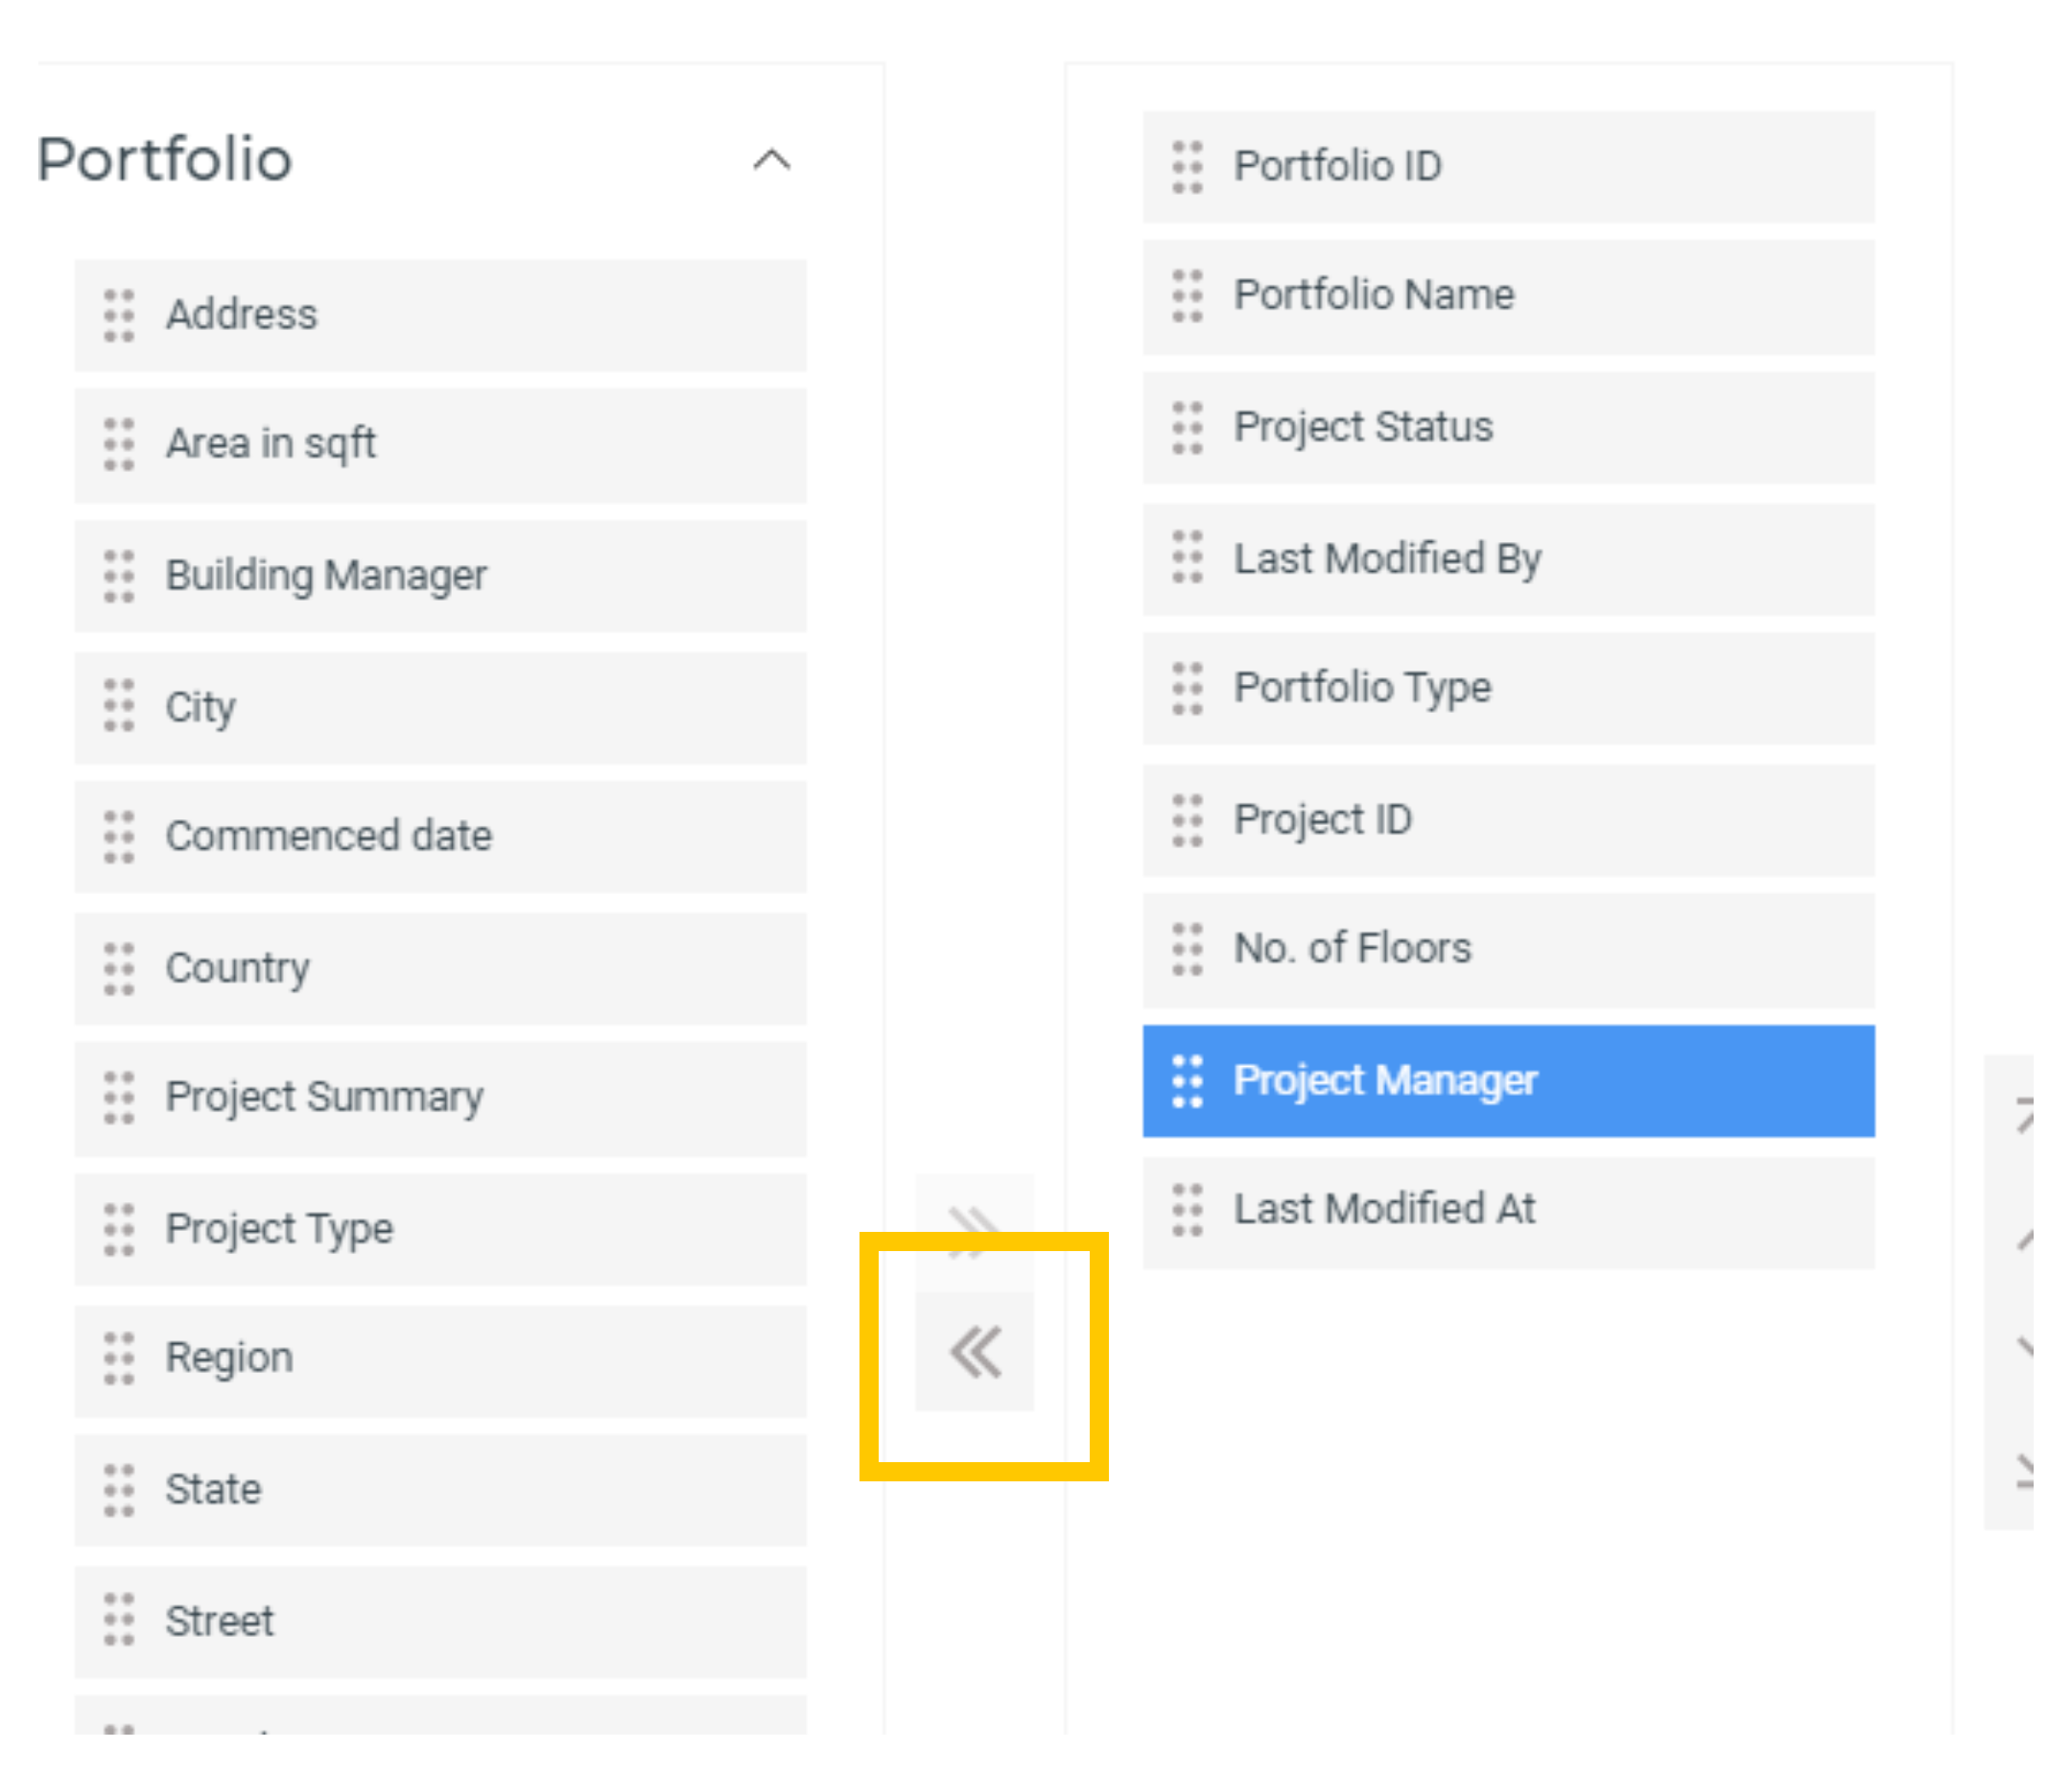 TIP: To select multiple columns, hold down the CTRL key while selecting.
 - Click Save to View to save the changes to the active view. Alternatively, click Save as New View to save the changes as a new view.
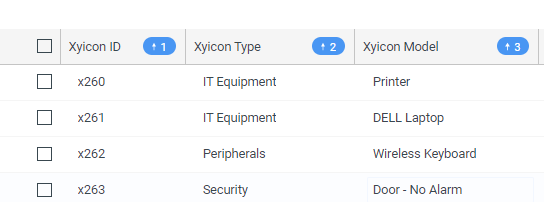
Sort Column
- Open your view.
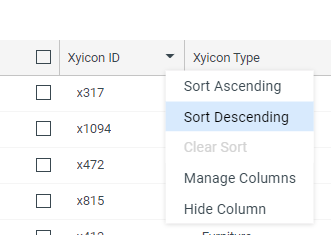
- Click a column header once to sort the table in ascending order, click twice to sort in descending order, and a third time to remove sorting. The dropdown arrow can be used for this as well. Hover over a column header and click the dropdown arrow that appears and select either 'Sort Ascending' or 'Sort Descending'.
- Click Save to View to save the changes to the active view. Alternatively, click Save as New View to save the changes as a new view.
Sorting based on multiple headers
- Open your view.
- Click on multiple columns to sort them. The columns will get sorted in descending priority. First column selected will get first priority and the second column selected will get second priority in the sort order.
Resetting Changes made to Columns
To revert changes made to the visible columns, click the reset button to revert them.