Xyicon Users
This guide is designed to assist individuals of all technical backgrounds in successfully installing the Xyicon add-in for Revit. By the end of this guide, you'll have the Xyicon add-in seamlessly integrated with your Revit software.
System Requirements
Before you begin the installation process, ensure that your system meets the following requirements:
- Operating System: Microsoft Windows
- Revit Version: Revit 2021 or higher.(for more information, see Revit system requirements)
Make sure you have access to the following file:
- Xyicon Revit Add-In Executable: You will need the Xyicon Revit Add-In executable file for the installation. To obtain this file, reach out to Xyicon support via support@xyicon.com.
Steps
- Start the installation process by running the Xyicon Revit Add-In executable file.

- In the next step, you will be prompted to select components for installation.NOTE: If you have not installed PDF995 drivers previously, now is the time to do so. This is required to create PDFs that will be used as space backgrounds in Xyicon. Select the checkbox to proceed.
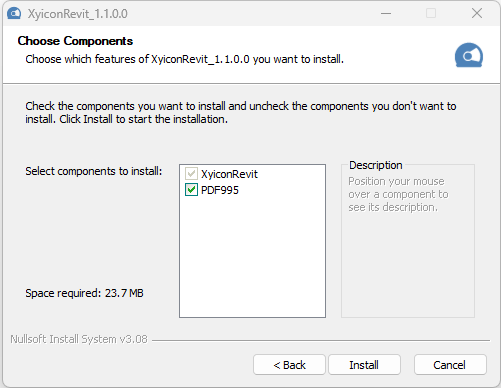
- Click on the Install button to finalize the installation process. Click Finish once the installation is complete.
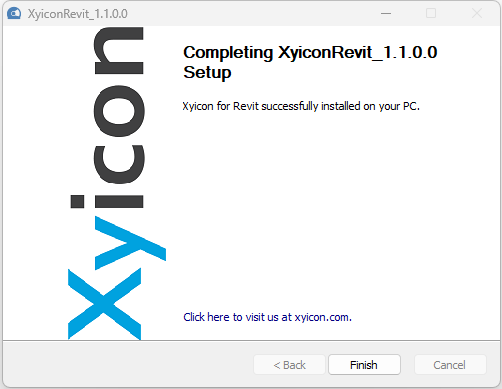
- Once the installation is completed, you can access the add-in through the Xyicon tab in the ribbon bar in Revit.
.png)
What's Next
With the Xyicon add-in now successfully integrated into your Revit software, you're all set to go! Try out the Quick Start Guide and take the Revit Add-in for a spin.