Use this article to learn how to create a linked xyicon report in the User Created report category. A linked xyicon report comes in handy when you need to generate a report that contains a set of xyicons with links to other xyicons. For example, suppose you want a report of all Printer xyicons and want to see the Computer xyicons associated with those printers. In that case, you can utilize the linked xyicon report and filter out the necessary xyicon fields to get the information you need.
Before you begin
Make sure you have created links between xyicons. You can create links using one of the following methods:
Step 1 - Enter Report Details
In this step, you will enter basic report details and define the scope of your linked xyicon report.
- Go to Main Menu ( ) > REPORTS.
- Click the Create button ( ) on the Action Bar. On the dropdown, select Xyicon Report.
- On the Create Report window displayed to the right, enter a unique name for the report in the Report Name field.
- Next, set the scope of the report in the Scope field. Available options are:
- Current Portfolio - Your linked xyicon report will be based on the currently active portfolio.
- Portfolio List - Your report will be based on multiple portfolios. Click the List field to select the portfolios that you want to be included in the report.
- Organization - Your report will be based on all the portfolios that belong to your Xyicon organization.
- Enter the description of the report in the Description field.
- Click Next to choose the report columns.
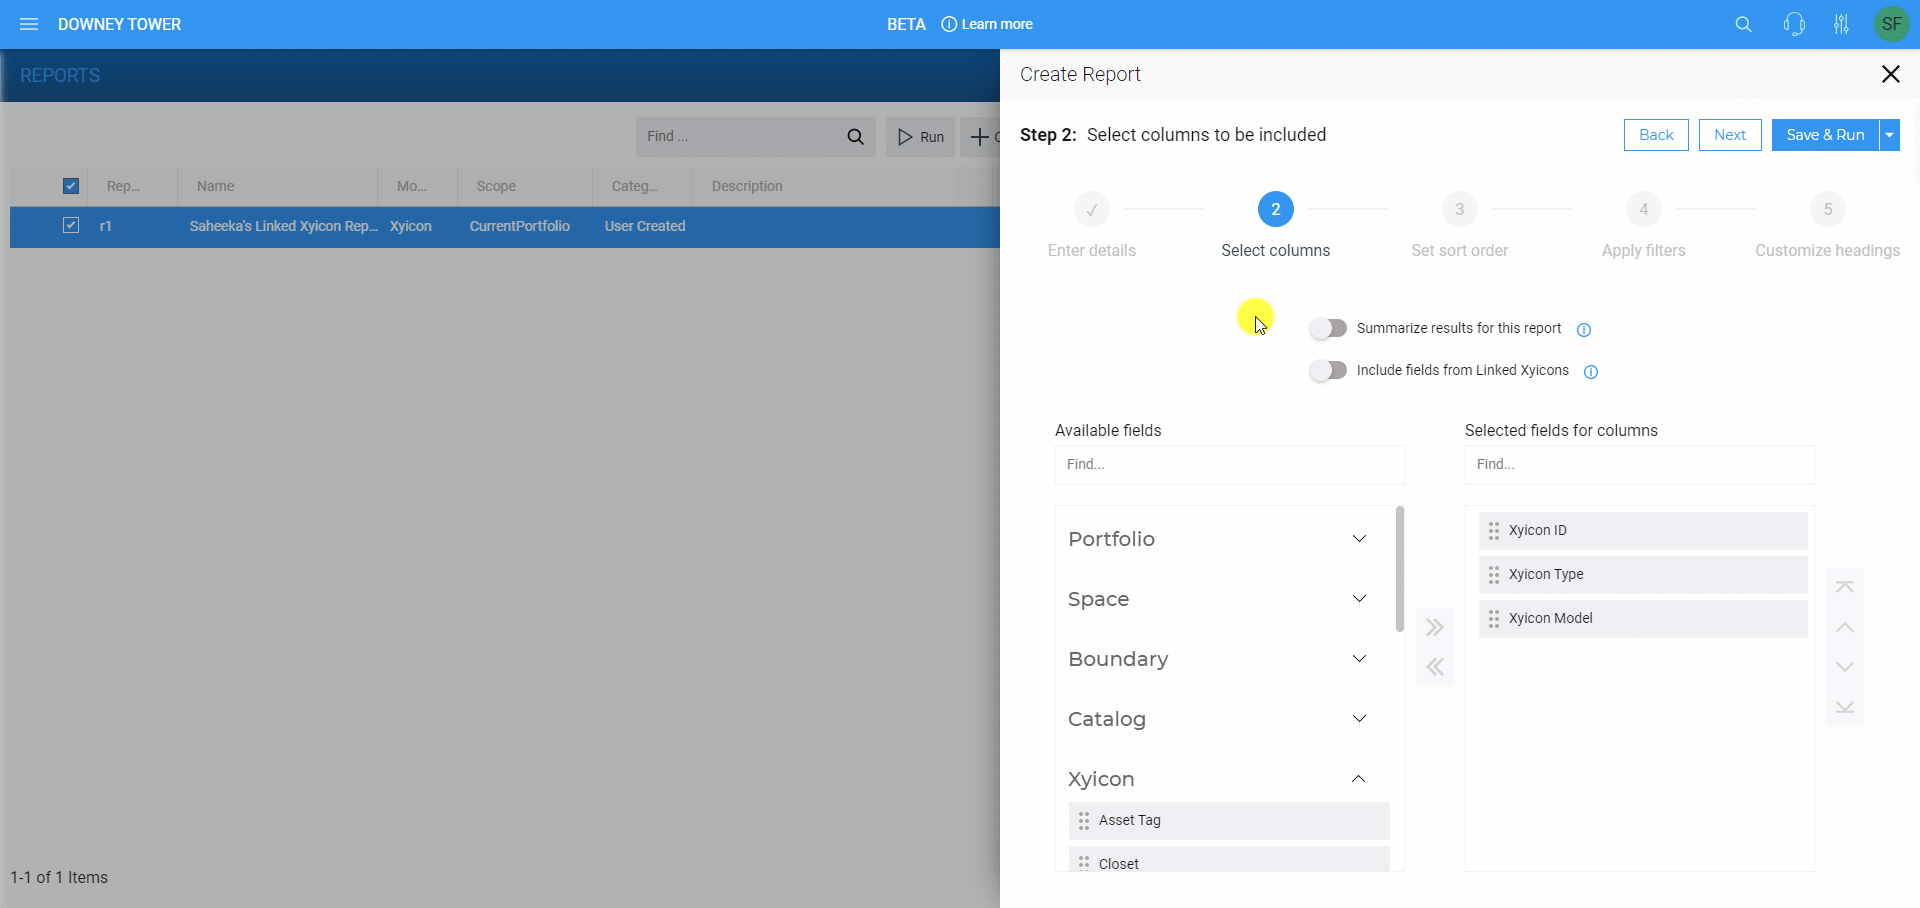
Step 2 - Select Columns
- First, choose the report format. By default, all reports use the detailed format.
- To get a summarized report, turn on the Summarize results for this report toggle.
- Next, turn on the Include fields from Linked Xyicons toggle. Turning on this option allows you to choose fields from linked xyicons.
- Choose the fields you want to view in the report from the respective tabs on the Available Fields section.
- To add xyicon fields to the report:
- Select the fields on the Xyicon Fields tab. To select multiple fields, hold down the Ctrl key while selecting.
- Drag and drop the selected fields to the Xyicon Fields group in the Selected fields for columns section
- Similarly, to add linked xyicon fields to the report:
- Select the fields you want on the Linked Xyicon Fields tab. You can easily distinguish the linked xyicon fields by the Linked Field indicator (
- Drag and drop the selected fields to the Linked Xyicon Fields group in the Selected fields for columns section.
- Alternatively, both xyicon fields and linked xyicon fields may be added to reports by using the Move Left ( ) and Move Right ( ) buttons to move columns between the two sections.
- To add xyicon fields to the report:
- Create the report or click Next to set the sort order of the selected columns.
Step 3 - Set the Sort Order
In this step, you can configure in which order you want the report to display the records.
- Add a field to sort by clicking the Add button ( ).
- Select a field (xyicon or linked xyicon) from the dropdown list and specify if you want it sorted in ascending or descending order.
- To remove a specific sort order, hover over the particular row, and click the Delete button ( ).
- Repeat steps 1 and 2 above as required.
- Create the report or click Next to set up the filters for the report.
Step 4 - Apply Filters
Use this step to show a specific set of records in your report. You can filter your records by the xyicon fields, linked xyicon fields, or a combination of both.
Filter using only Xyicon Fields
- To filter using xyicon fields, click the Xyicon Fields tab, then click the Add button ( ).
- Select the field in the first column, then the condition, then the value.
- Keep building the filter.
- To remove a specific filter, highlight the row and click the Delete button ( ).
Filter using only Linked Xyicon Fields
- Click the Linked Xyicon Fields tab and click the Add button ( ).
- Select the field in the first column, then the condition, then the value.
- Keep building the filter.
- To remove a specific filter, highlight the row and click the Delete button ( ).
Filter using a Combination
You can add filters to both the Xyicon Fields and Linked Xyicon Fields tabs using the above steps. In such instances, the report will only show records that meet both conditions.
Once you have defined the filters, create the report or click Next to customize the report column headings.
Step 5 - Configure Custom Column Headings
By default, Xyicon uses the field names as the report column headings. If you want the report to display different column titles, you can define them in this step.
- Under the Display Name in Header section, enter a custom heading for each report column. Linked xyicon column headers will always be prefixed as Linked, for example, Linked <column name>.
- Create the report.
Step 6 - Create the Report
To complete creating the report, select one of the following actions:
- Click Save & Run to save and run the report immediately. The Report Preview window will open once the report is ready.
- Click Save to save the report. You can run the report from the REPORTS module at a later date.
Learn more about saving a report.