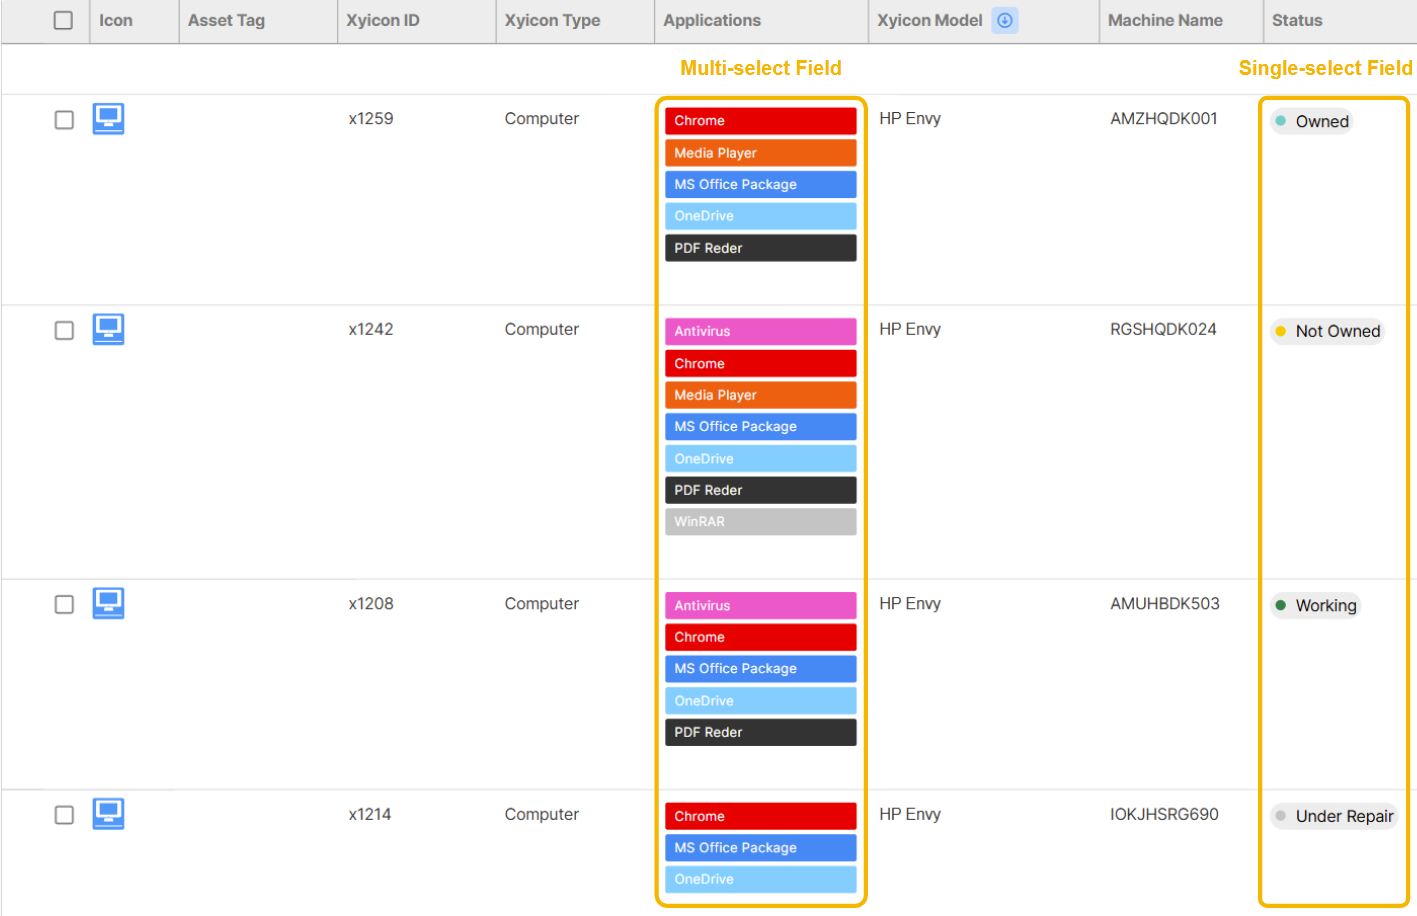
This article will guide you on how to create Single-select and Multi-select field types. Single-select fields enable users to choose one option from a dropdown containing multiple items, whereas Multi-select fields allow users to select any number of items from their dropdown.
Before you begin
You must have Xyicon Administrator privileges to create fields.
Steps
Single-select fields allow a user to select one option out of a dropdown containing multiple items, while Multi-select allows the user to select any number of items from its dropdown. Both Single-select and Multi-select field types additionally have a property labeled Items in Dropdown.
Create a Single-Select or Multi-Select Type of Field
On the Xyicon Header, click the Settings () button.
Under Settings, click on the desired Module.
Click on the Fields Tab.
Click on (+) Create to create a new field.
In the Create New Field Panel that opens, give a name for your field.
Click on the drop-down in front of Field Type and select either Multi-select or Single-select.
Click on Add Item in front of Items In Dropdown to add an item for users to select from the dropdown.
Select New Item (1) that appears and rename the item as needed.
Repeat steps 7 and 8 to add more items.
Alternatively, click on the button labeled Add multiple items at once and type your item names on each line, pressing enter after each item name, to add all your items at once.
Optionally, turn on Display On Links, provide a Field Description, and Helper Text as needed.
Click on Create to create your new field.
Reorder Items in the Dropdown of Single-Select and Multi-Select Fields
On the Xyicon Header, click the Settings button.
Under Settings, click on the needed Module.
Click on the Fields Tab.
Select the field whose items you wish to reorder.
Click and hold on the drag handle in front of the item you wish to move. The items are in the Items In Dropdown property.
Move the item to its new position and release the mouse button.
Repeat as needed.
Switch to V5 to access this functionality.
Click the Settings button (
 ) in the navigation panel, or click the Profile Icon on the Xyicon header and select Settings.
Under Settings, click on the Fields Tab of the desired module. Then, click on (+) Create to create a new field.
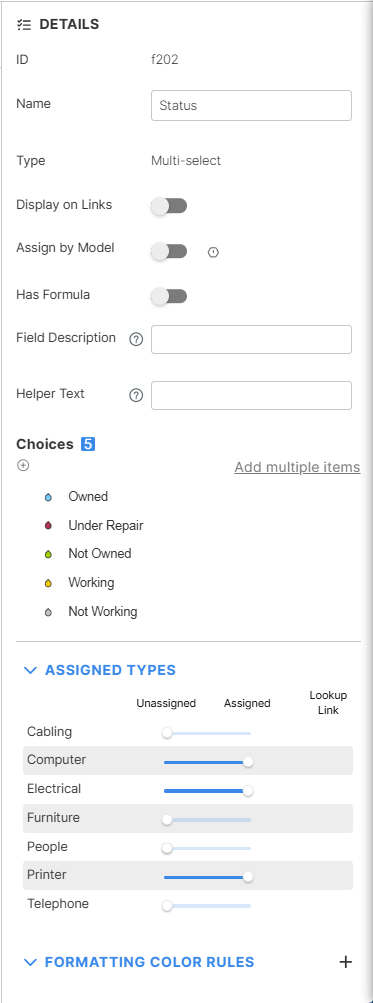
In the Create New Field Panel that opens, give a name for your field.
Click on the drop-down in front of Field Type and select either Multi-select or Single-select.
Click on (+) in the Choices section to add items. Rename the field by selecting the default given name, and choose a color for the field. Repeat this step to add more items.
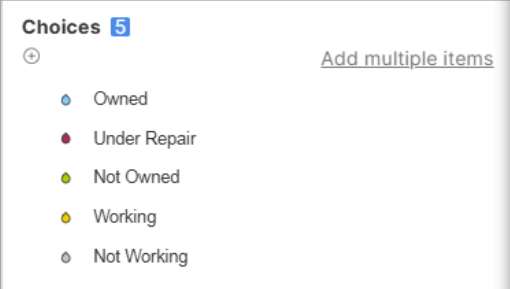
Alternatively, click on the button labeled Add multiple items and type your item names on each line, pressing Shift+Enter after each item name, to add all your items at once.
TIP: To reorder the items you have added, click and hold on the drag handle in front of the item you want to move. Move the item to its new position and release the mouse button when you're done.
Choose a Display Format from the available options based on your needs. Optionally, add Formatting Color Rules, turn on Display On Links, provide a Field Description, and Helper Text as needed.
Click on Create to create your new field.
Once the field is assigned a Type and data is added, it will appear in the list views you create.